Initial Setup & Workspace Configuration
Step 1: Log In and Access Workspace
- Open erp.yoctobe.com
- Log in with a Manager account (required for creating or editing workspaces)
- From the dashboard, scroll down and find the default workspace named Home
- Click Edit to modify the workspace
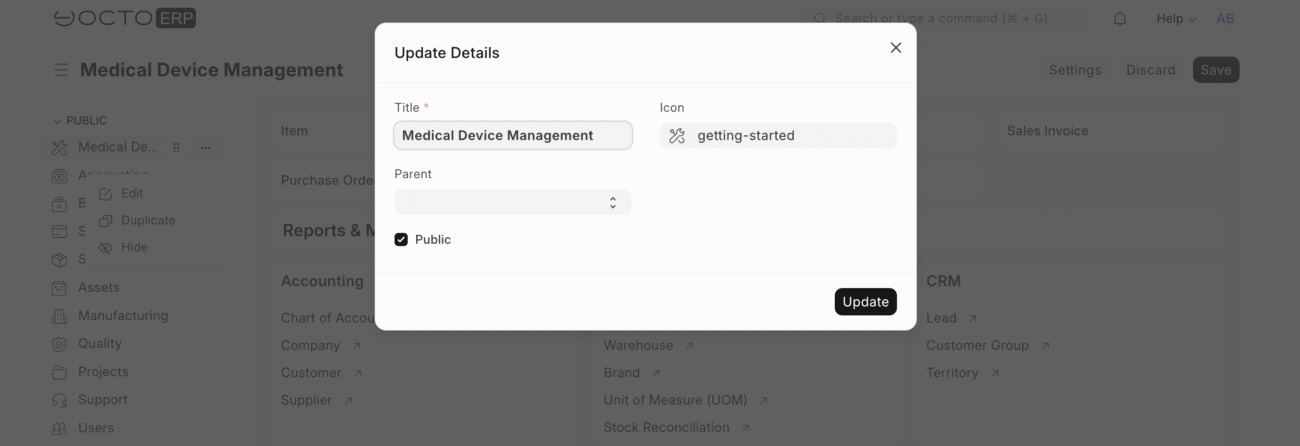
Step 2: Rename Workspace
- Change the workspace name from Home to Medical Device Management
- Click Save
- A success message will confirm the workspace update
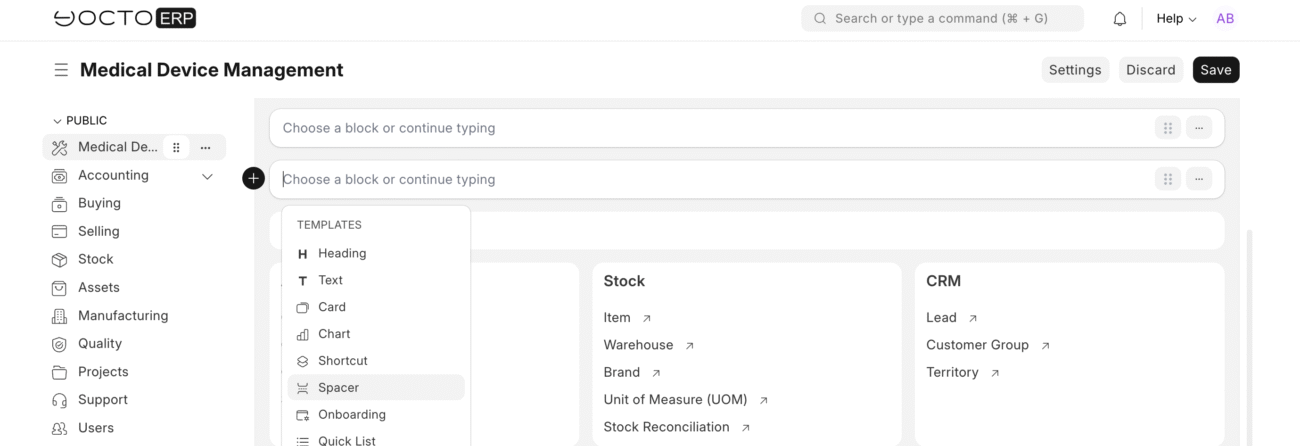
Step 3: Add Shortcuts to Workspace
- Click the + Add Shortcut button
- Search for and add the following document types (doctypes):
- Item
- Supplier
- Customer
- Purchase Order
- Quality Inspection
- Stock Entry
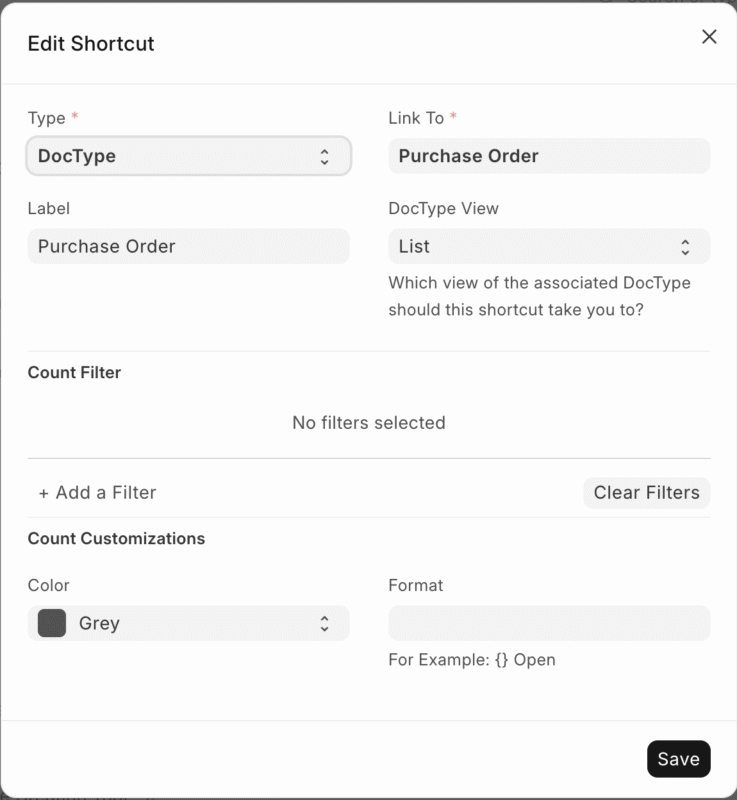
- For each shortcut:
- Type the doctype name (e.g., Purchase Order) in the search bar
- Select the correct page
- Set the label exactly as the doctype name
- Click Add then Done
- Once all shortcuts are added, click Save
- Your workspace now contains all shortcuts for easy access
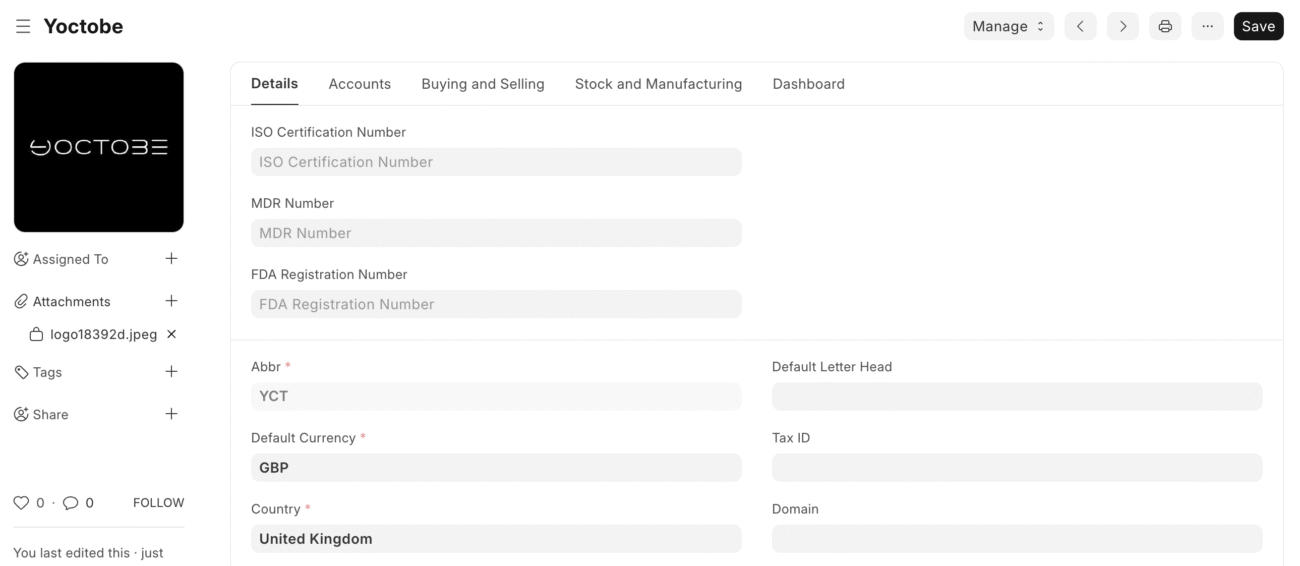
Step 4: Update Company Profile and System Settings
- Click your profile icon (top-right) → My Settings to edit your personal info: email, full name, language, timezone
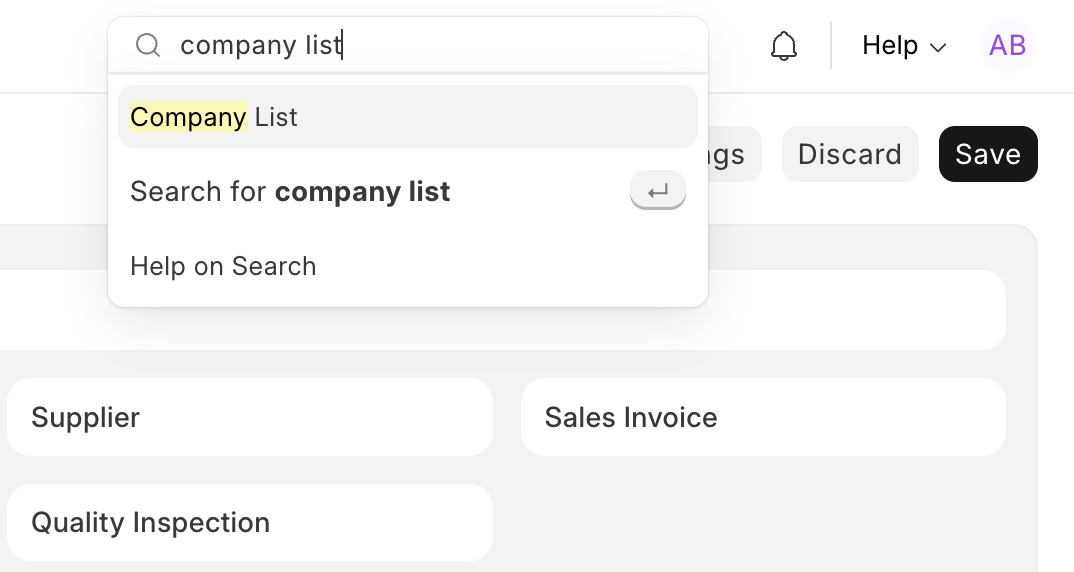
- Use the search bar to find Company List
- Select your company and click Edit
- Fill in key fields:
- Company Name
- Address
- Registration Number (Tax ID)
- Default Currency
- Country
- To rename your company, click the three-dot menu next to Save and select Rename
- Check the Accounts tab for default account settings; amend if needed
- Click Save
Step 5: Add Regulatory Details as Custom Fields
- Regulatory info like MDR, FDA, ISO numbers require custom fields:
- Search for Custom Field List or access the form customization for the Company doctype
- Create new custom fields:
- Field Label: MDR Number
- Field Type: Data (single-line text)
- Apply to: Company
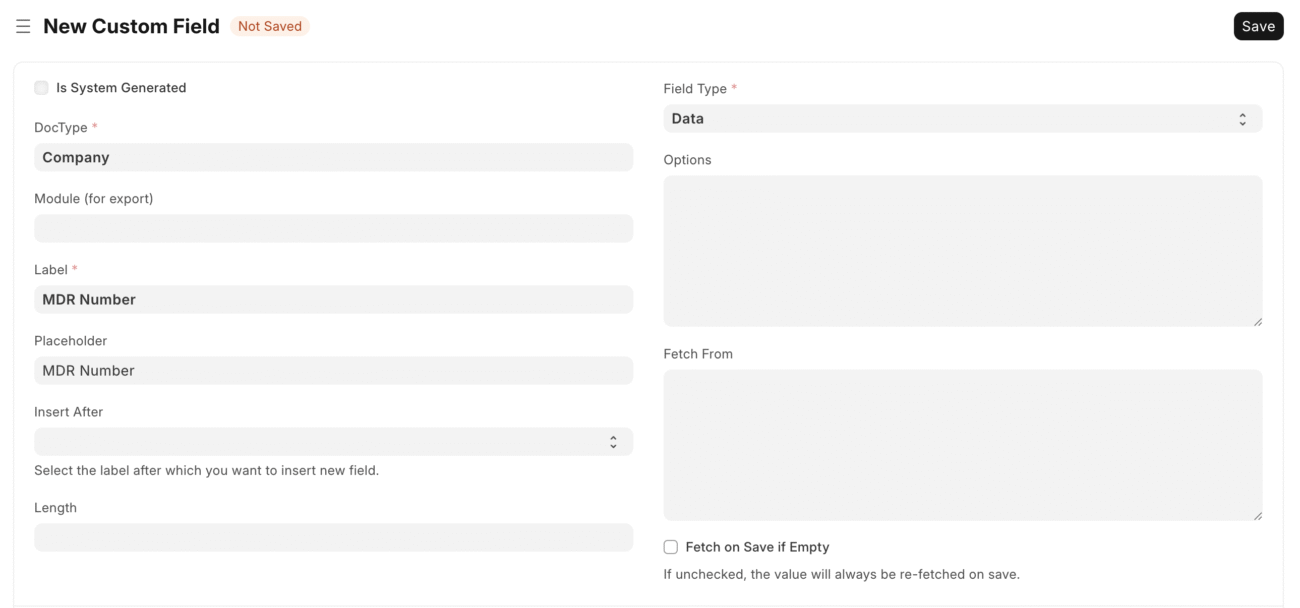
- Repeat for:
- FDA Registration Number
- ISO Certification Number
- Save each field and reload the company profile to view and fill them
Step 6: Set Fiscal Year, Currency, and Timezone
- Use the search bar to find System Settings
- Open System Settings and update these fields:
- Default Currency: Set your company’s currency (e.g., GBP)
- Timezone: Select your company’s time zone (e.g., Europe/London)
- Click Save
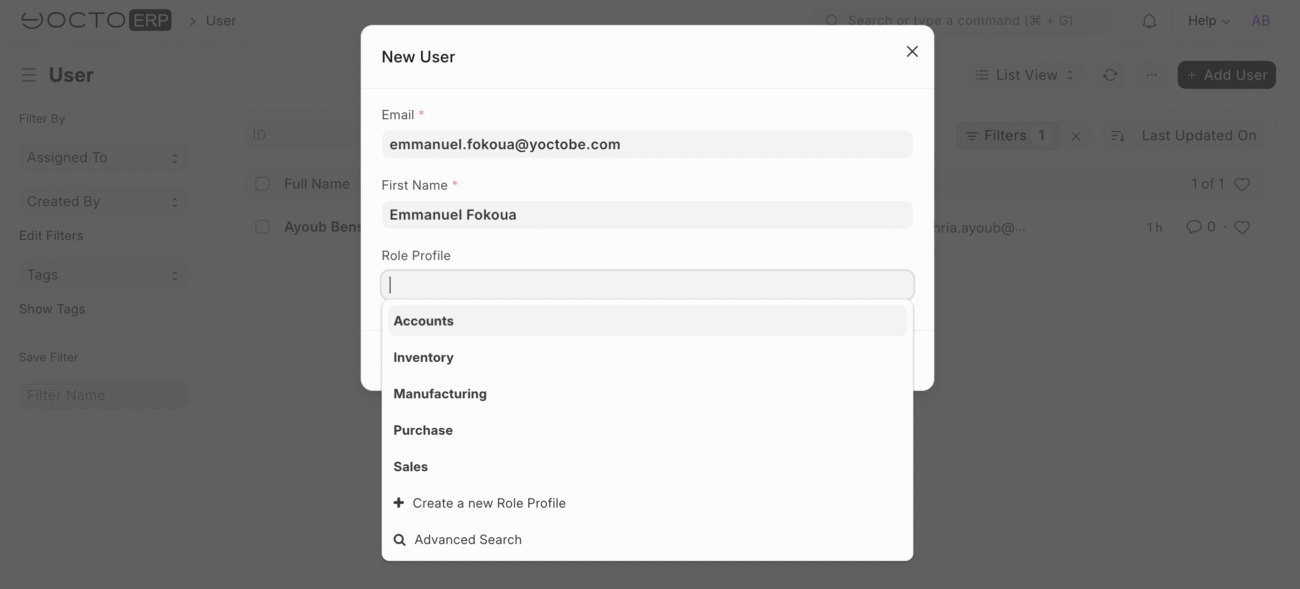
Step 7: Create Staff User Accounts
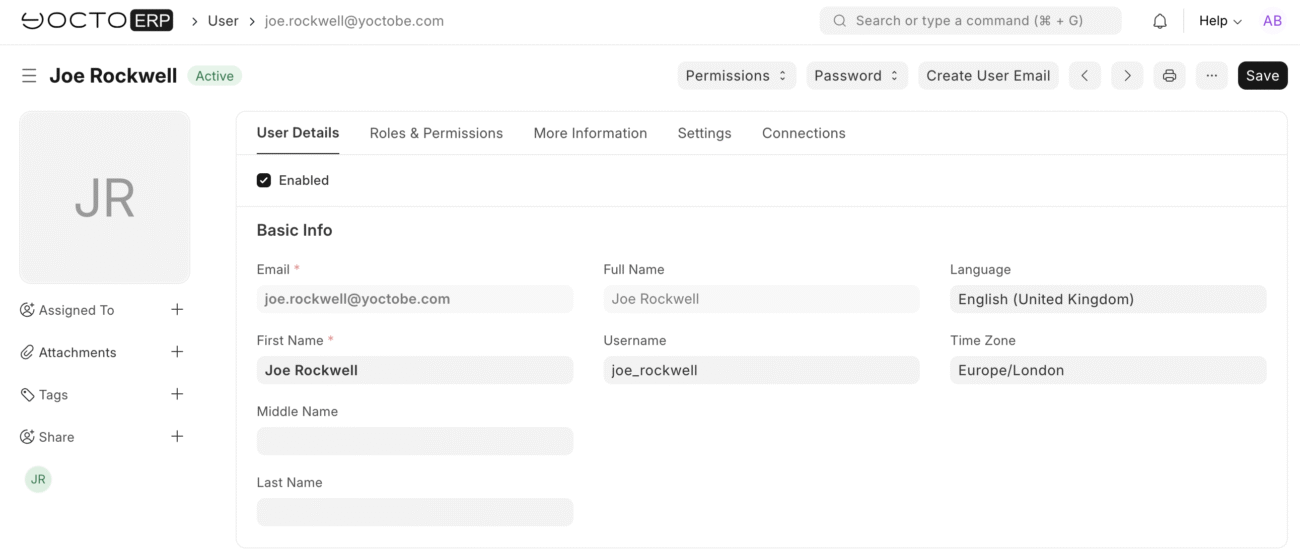
- Search for User List and open it
- Click New to create a staff user account
- Fill in required info: Full Name, Email, Username
- Assign an appropriate Role based on their job function:
- QC (Quality Control) → Assign Quality User role
- Storekeeper → Assign Stock User role
- Sales → Assign Sales User role
- Regulatory Officer → Assign Regulatory User or similar
- Repeat for each staff member
- Click Save for each user
Step 8: Assign Roles to Users
- Verify roles assigned per user reflect their responsibilities and access needs
- You can adjust roles in User List by opening a user profile and updating the roles section
- Ensure that sensitive permissions (like system settings) are limited to managers or admins only
Step 9: Upload Company Logo and Favicon
- Search for Website Settings and open it
- Upload your company Logo (recommended size: around 200×50 px)
- Upload your Favicon (recommended size: 32×32 px, .ico or .png)
- Save the changes
- The logo will appear in the header and the favicon in the browser tab
Step 10: Test User Logins and Permissions
- Log out from the Manager account
- Log in as each created user (QC, Storekeeper, Sales, Regulatory Officer)
- Verify each user can only access the modules and actions allowed by their role
- Check shortcuts and menus reflect their permissions
- If adjustments are needed, log back in as Manager and edit user roles accordingly
Assign the appropriate permission for each role:
Creating specific role permissions for QC, Storekeeper, Sales, and Regulatory Officer is essential to control what each user can access and do in the system.
- Define roles like QC, Storekeeper, Sales, Regulatory Officer
- For each role, specify permissions on:
- Modules (e.g., Stock, Quality Inspection, Purchase Orders)
- Actions (Create, Read, Update, Delete)
- Document types relevant to their tasks (e.g., QC sees inspections, Storekeeper manages stock entries)
- Assign these roles to user accounts