
Vesta Control Panel is a free, open source website control panel with website, email, database, and DNS functionalities built in.
Prerequisites
This tutorial uses example.com as the example hostname. Replace it with your domain name throughout this tutorial.
- An Ubuntu server
- A registered domain name pointed to this server. You can read this series on hostnames for more information.
- An A record pointing
example.comto your server’s IP - An A record pointing
ns1.example.comto your server’s IP - An A record pointing
ns2.example.comto your server’s IP - An A record pointing
panel.example.comto your server’s IP - A CNAME record pointing
www.example.comtoexample.com - Filezilla or another FTP client installed on your computer
- A non-root user with sudo privileges (Initial Server Setup with Ubuntu 14.04 explains how to set this up.)
Installing Vesta
Download the installation script.
curl -O http://vestacp.com/pub/vst-install.sh
as root, execute the installation script:
bash vst-install.sh
When asked if you want to proceed, enter y.
This installation script will install the control panel and all its dependencies to your server. This includes:
- Nginx Web Server
- Apache Web Server (as backend)
- Bind DNS Server
- Exim mail server
- Dovecot POP3/IMAP Server
- MySQL Database Server
- Vsftpd FTP Server
- Iptables Firewall + Fail2Ban
- Roundcube mail client
After the script finishes its work you’ll have some information displayed on your screen, which will look a bit like this:
=======================================================

 _|      _|  _|_|_|_|    _|_|_|  _|_|_|_|_|    _|_|
 _|      _|  _|        _|            _|      _|    _|
 _|      _|  _|_|_|      _|_|        _|      _|_|_|_|
   _|  _|    _|              _|      _|      _|    _|
     _|      _|_|_|_|  _|_|_|        _|      _|    _|


Congratulations, you have just successfully installed Vesta Control Panel

    https://panel.example.com:8083
    username: admin
    password: v6qyJwSfSj
Setting up Vesta
Go to the URL given to you at the end of the install. In my case it was https://panel.example.com:8083/,
You will get an SSL warning, like shown below:
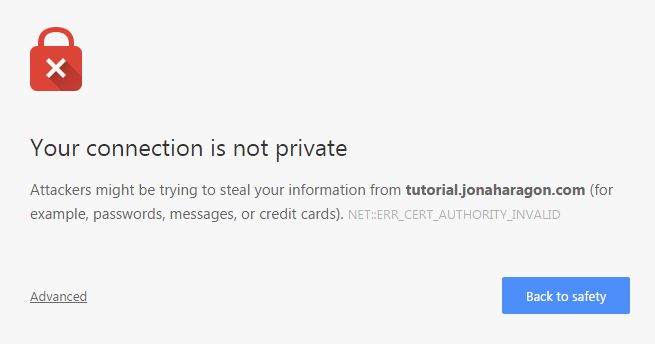
It is completely safe to continue. Click to proceed anyway. The exact steps vary by web browser. For Chrome, click Advanced and then click Proceed.
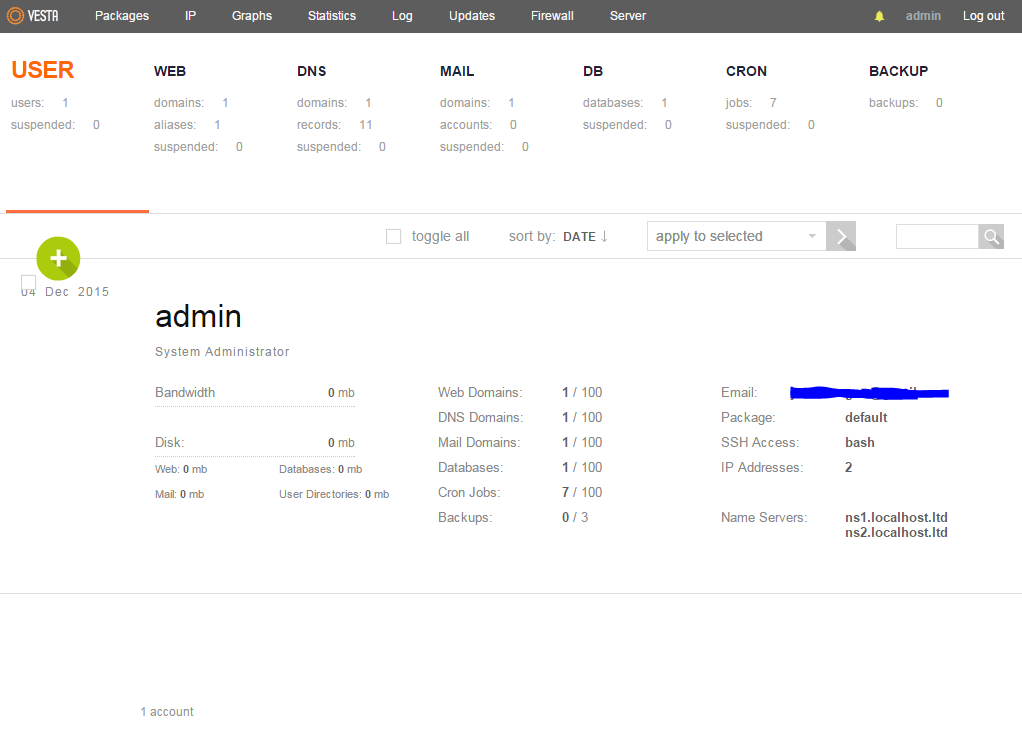
Change the admin user password. In the top right-hand corner of the web panel click the admin link:
In the Password field, enter any password you’d like, or click Generate to make Vesta generate a secure password for you.
Press Save at the bottom of the page when you’re finished.
Setting up a Website
On the homepage of Vesta, click WEB at the top.
Then click the green + button. In the Domain field on the next screen, enter the domain you’d like your website to be accessible from, or the one you registered to point to this Droplet’s IP address such as example.com.
You should also choose Additional FTP so you can easily upload files to your hosting. Enter a Usernameand a Password in their respective fields. Note that whatever you enter in the username field will have admin_ added as a prefix (entering example will result in admin_example).
On your computer, you now need to connect via FTP to your Server:
ftp your_server_ip
Alternatively, you can use a program such as Filezilla to connect to your website via FTP.
In the public_html directory you can upload your files.
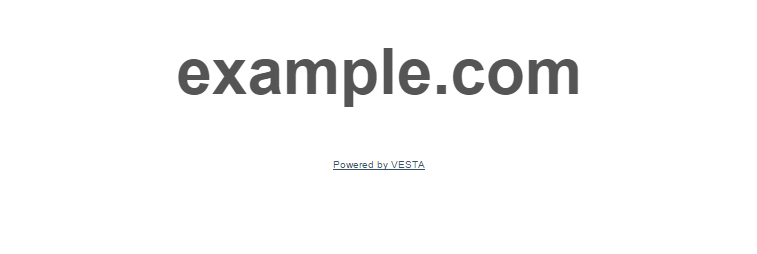
Try visiting http://example.com now to make sure it works.
Setting Up an Email Account
You can set up an email account, something personalized like username@example.com. In Vesta, click MAIL at the top of the screen.
- Quota allows you to set a mailbox size limit.
- Aliases allows you to add other email addresses that forward to that main account.
- Forward to allows you to enter an email address to forward all this email to.
The email you just set up can be easily accessed from http://panel.example.com/webmail/.


